Building the Pulsar endpoint
After having properly edited the pre_tasks.tf and vars.tf file (see section Terraform variables details),
we are ready to create the Pulsar endpoint.
Note
For this step you need a SSH Key pair and RabbitMQ credentials from UseGalaxy.eu.
Navigate into the Pulsar infrastructure directory:
cd pulsar-deployment/tf
and execute:
terraform init

terraform plan

terraform apply -var "pvt_key=~/.ssh/<key>" -var "condor_pass=<condor-passord>" -var "mq_string=pyamqp://<pulsar>:<password>@mq.galaxyproject.eu:5671//pulsar/<pulsar>?ssl=1"
The apply command output the IP addresses of the Pulsar Central Manager
...
openstack_compute_instance_v2.exec-node: Still creating... (10s elapsed)
openstack_compute_instance_v2.exec-node: Creation complete after 17s (ID: 046f2d5e-5bf8-4e75-8015-4e6a4f96fb9d)

Apply complete! Resources: 4 added, 0 changed, 0 destroyed.

Outputs:

ip_v4_internal = 172.30.135.5
ip_v4_public = 90.147.170.170
node_name = vgcn-it02-central-manager.pulsar
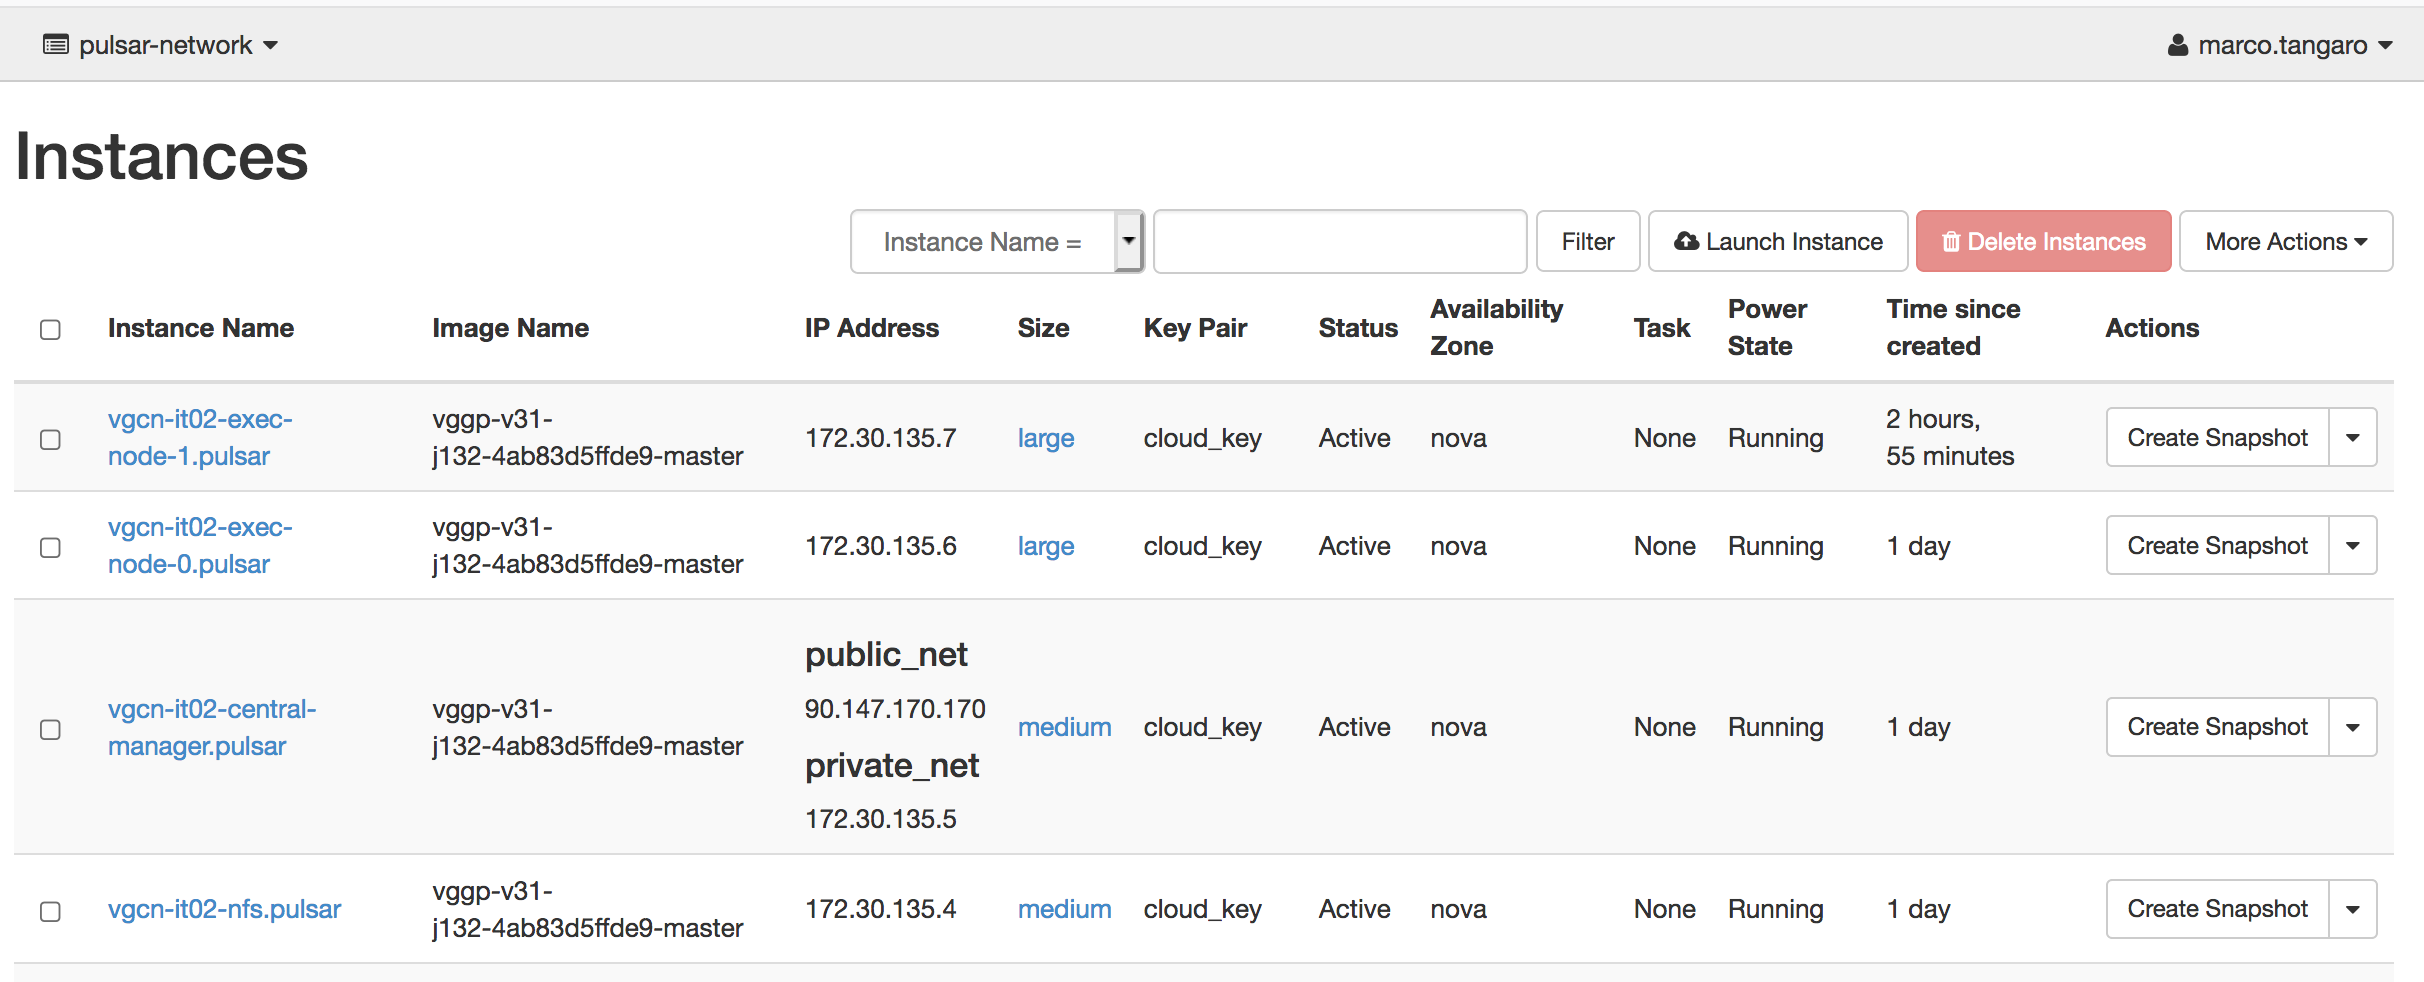
Finally, all the resources have been created on OpenStack.
Here, for example, the OpenStack dashboard showing a Pulsar endpoint with the Central Manager, the NFS server and two worker nodes.
The Pulsar endpoint is now configured, but Pulsar is still turned off.
Warning
The central manager is configured with ansible at deployment time. The HTCondor executors are configured with ansible run by cloud-init after the VM startup. Therefore the deployment may require few more minuts to be operational.
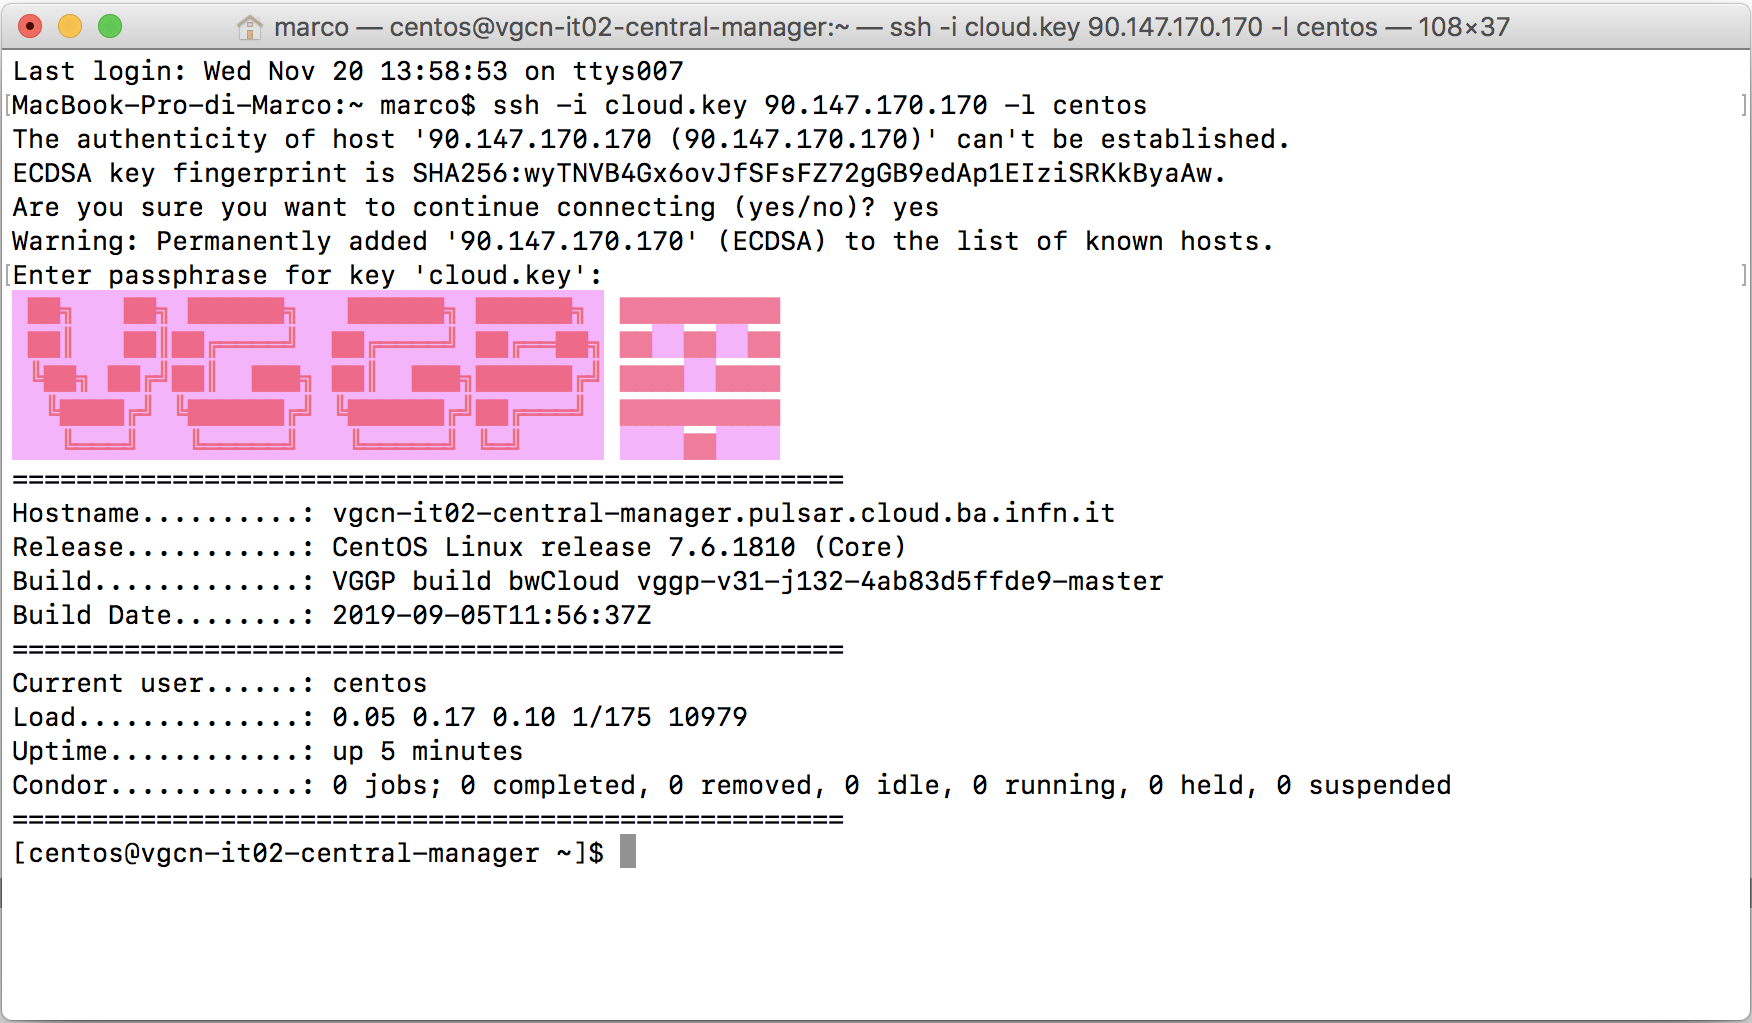
Testing SSH access
The SSH public key configured in the vars.tf file was already automatically added to the authorized_keys
file of the Central Manager VM. To login to this VM just type:
ssh -i <private_ssh_key> <Central-Manager-Public-IP-address> -l centos
Note
Terraform scripts also add a VGCN private ssh key to the CM and the public one to the other nodes. So after successfully logged in to the CM, you can reach, without other impediments, the rest of the network.